Assignment Four: Visualisation

Brief: Combine all the skills, techniques, process and knowledge you have developed in this part to create an interior visual of your model from Part 1 – Analysis: Atmosphere & Experience.
TIP: Before you start to draw your visual, you may wish to make some changes to your model from Part One based on the feedback you received at that stage. Alternatively, you could choose one of your sketch-models to draw from if you think that they would provide a more interesting visual.

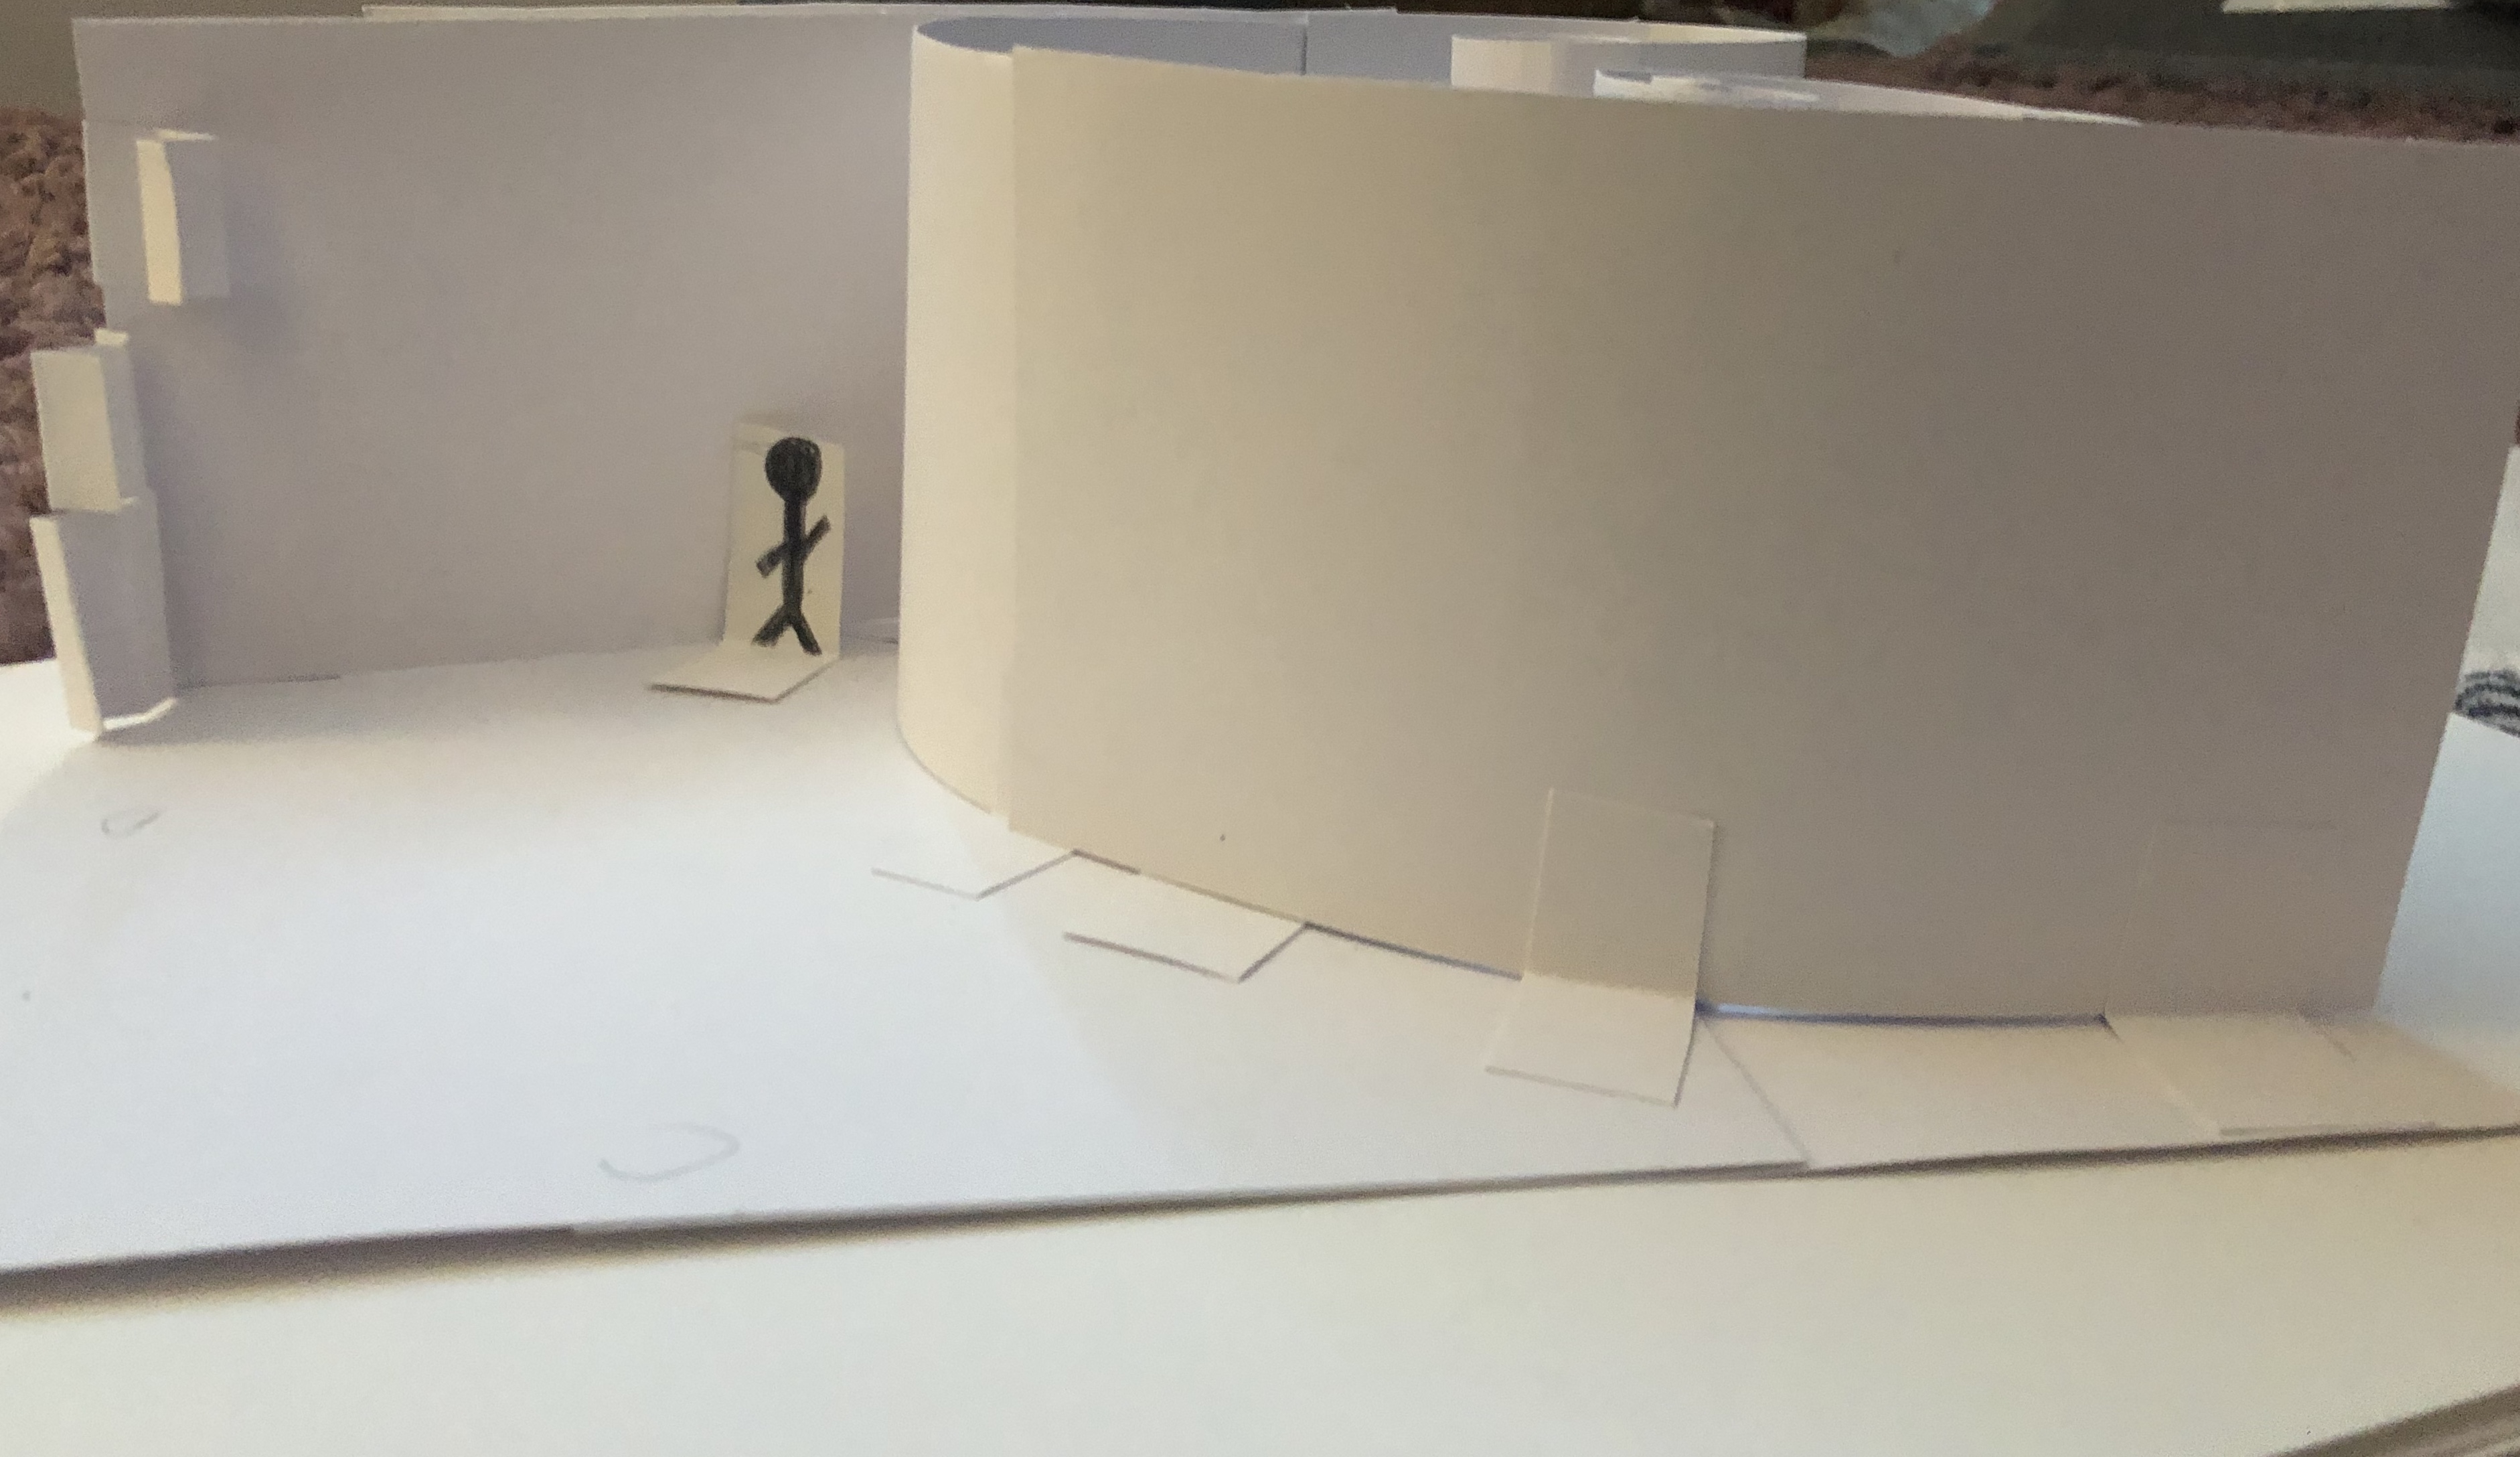
The materials/ finishes that the building is made up of, I have explored above and below. My aim in the aesthetic to the structure was minimal, taking inspiration from a classic contemporary art museum. With plain walls, contrasting with the masses of light coming through the glass window panels, to create depth against the bland walls. I have thought about the structure, lighting and different materials with sketching and rendering each aspect. Using drawing techniques such as two point perspective has helped get a more realistic view of the model in a building form as you get a sense of the size of walls, in comparison to a human.

I found drawing on my Laptop a lot easier compared to on paper. I liked using the different textures of pens and different medias in the programme I was using. I tried using both techniques of by hand on paper and electronically and I thought the laptop programme gave a more defined, and professional look. I found the perspective aspect of this task difficult to start with as I couldn’t get the hang of looking at the structure from an outside point of view however it helped using a model to show the comparison in size.

Exercise 3.3: Perspective with Tone & Colour

Method 1: Choose one of your drawings from either exercise 2.1 or 2.2.
Lay either layout or tracing paper over your drawing and make a copy of it using a sharp pencil, by carefully and lightly tracing the outlines of the drawing. Do not include the guidelines. It is a good idea to do this on a hard surface so that you can use masking tape to hold both the original and the tracing paper in place.
Position yourself so that you have the same view you had when you did the original drawing.
This time, take notice of the materials that make up the space. Look closely at how light falls on the surfaces of those elements you have drawn in perspective. Where are the shadows and highlights, how do they fall, and how defined are they?
Now, using any black or grey (and white if necessary – but not colour) medium of your choice, work into your drawing trying to capture a sense of the light, shade and atmosphere of the space. Consider how they might differ on certain materials, like fabric or metal.

Method 2: Just as you did in method 1, make a second copy of the selected original, by carefully tracing the outlines of the drawing using tracing paper that is held securely with masking tape.
Position yourself so that you have the same view as when you did the original drawing.
Look more closely at the materials, colours and textures of the surfaces of the floor, walls, ceiling and any objects or furniture etc. that you have included in your drawing.
Using the colour medium of your choice, work into your line drawing trying to capture a sense of the materiality and textures of the space. This drawing will also capture light and shadow as the last drawing did.

I traced the outline I did for the two point perspective in the last exercise so can add some shading and colour. This helps add the finer detail in the space and add textures I have experimented with in previous tasks. I found this helpful to visualise the space better, and to get a better idea of the spacing of objects and furniture. If I was to do this task again, I would try different medias with this task, maybe charcoal or paint. This would help add different textures and colours to the drawings. I preferred the colour drawing, as it showcases the different aspects of the room.

Exercise 3.1&2: One &Two-Point Perspective

Method:Use a layout or tracing paper, a pencil, a ruler if you wish (but preferably not) and an eraser. You could consider also using an ink pen to define your final drawing.
Find an interior to draw in perspective. This could simply be the room you are already in!
To create a one-point perspective drawing you need to find a view where you are facing a flat wall or surface straight on, rather than the corner of a room or space.
First you draw your eye-level line. This is a horizontal line across the page at your own eye level. If you are sitting this will be lower on the page than if you are standing. Everything that is below your eye level will slope up towards this line and anything above your eye level will slope down to meet it.

Method: You can use same interior you used for exercise 3.1 or you can select another interior to draw, but this time you need to find a view where you are facing the corner of a room.
Using the same materials in the previous exercise, just as you did before, start by drawing your eye-level line.
Everything that is below your eye level will slope up towards this line and anything above your eye level will slope down to meet it.
However, this time there will be two vanishing points. These should be located towards each side of the page but still on the eye level line.

One Point Perspective

This drawing is an example of a one point perspective drawing, which faces the main wall in the room, featuring a television, fireplace and windows. A perspective drawing helps envision how the room will look if you are looking at in person. It also helps with the sizing and accuracy of the different aspects of the room, such as the windows, doors and lighting.

Two Point Perspective

I found doing perspective drawing in two point, helpful to visualise the space in a more accurate way. The room I drew is a living room, with windowed doors leading to a patio outside. It also has a feature wall which is extended out from the wall including a television, an electric fire and a space for a sound bar. I fount perspective drawing helped me visualise the different pieces of furniture and how to draw them in three dimensional.